Enroll one or more student groups in one or more courses. When enrolling a group, search for the group by group name and all the members of the group appear in the student list to enroll in selected course(s). Removal of any member of the group from the enrollment can be done before saving.
- Click Gradebook.

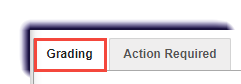
- Click Grading.
- Select + Add Enrollment.

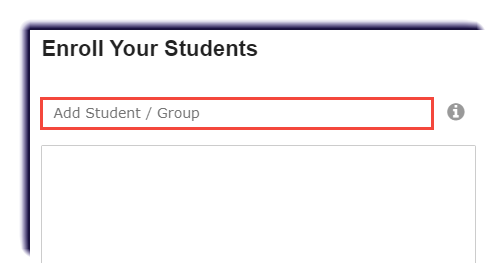
- Enter group name.
Note
Once the group is selected, the students in the group will populate.
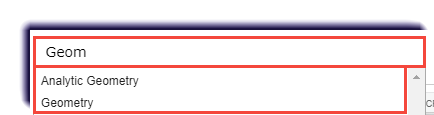
- Enter the course name or subject.
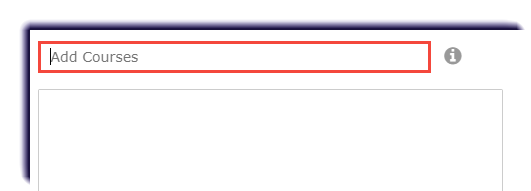
- Click in the Add Courses field and start entering the first three characters of a subject or course name.
Tips
After entering any character, you can press the Enter key to see all courses that match the character(s) entered.
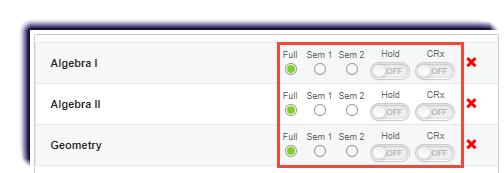
- Click a course length tool or toggle the status or CRx mode option for each course. The default settings for most courses are: Full term course length, Active status, and CRx mode OFF. If a course tool is not available to be changed for a course, it displays as grayed out.
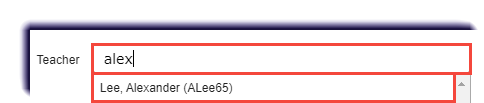
- Select the teacher of record (TOR) for the enrollment(s).
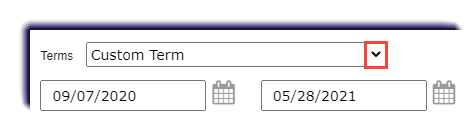
- In the Terms field, the default school term appears. Keep the default term or click the list arrow to select a different term for the enrollment. If you select Custom Term, click the Start Date and End Date calendars to select the start and end dates for the custom term.
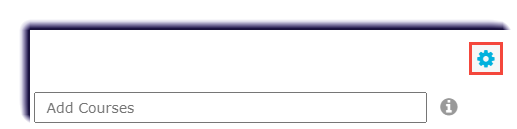
- View or change the enrollment settings by clicking the View and edit settings tool
 .
. 
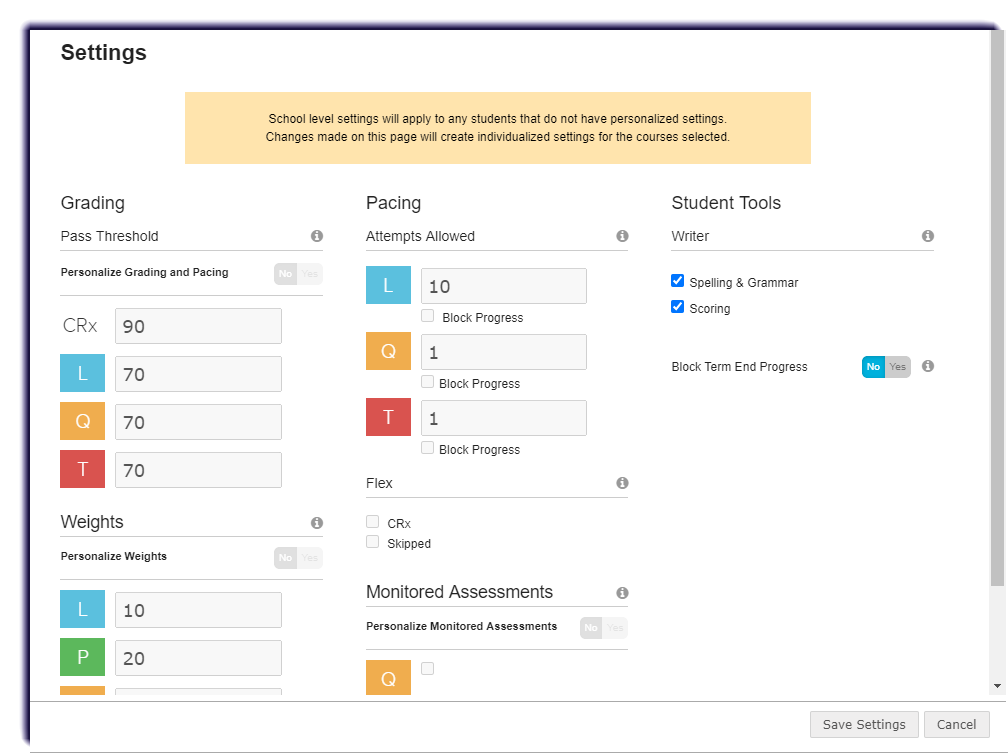
- Adjust settings to desired specifications. To learn more about the page, click here.
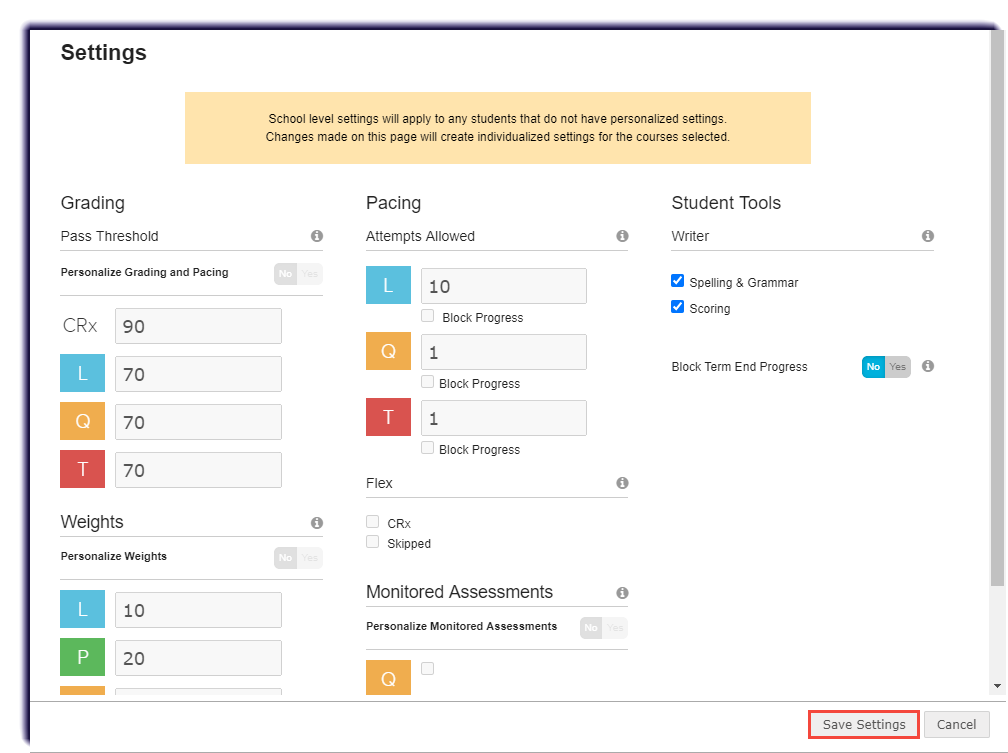
- Click Save Settings.
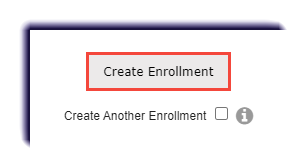
- Click Create Enrollment.
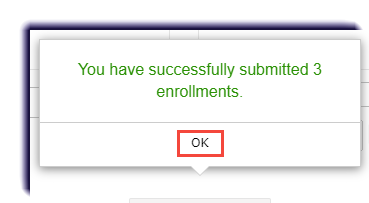
- A confirmation window appears. Click OK.