Use this page to learn how to add an enrollment for a student. Check out the Key Points for Creating an Enrollment page before creating one.
- Click Students.

- Find the student to edit. Filter if needed.
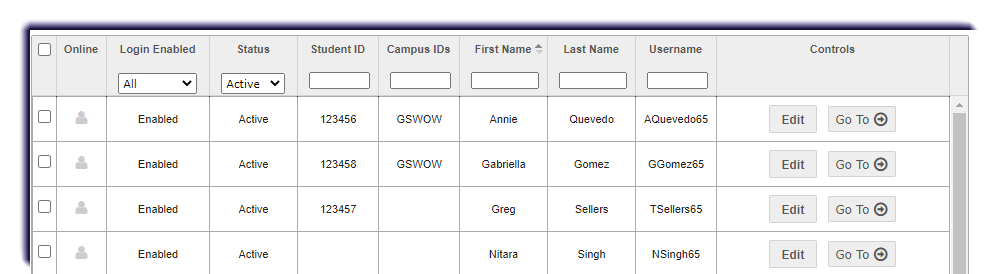
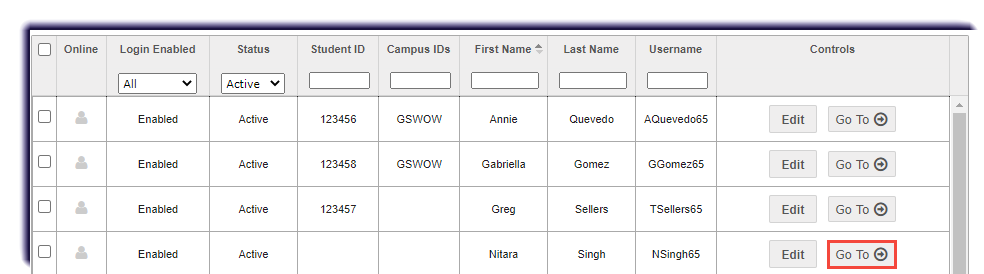
- Click Go To in the student's row.
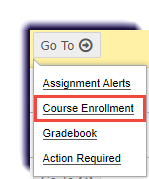
- Select Course Enrollment.
- Click Add Enrollment.

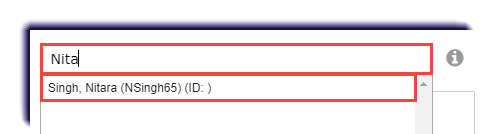
- Enter the student's first name, last name, username, student ID, campus ID, or student group name in the Add Student / Group box. Click the name as it appears.
Tips
After entering any character, you can press the Enter key to see all students or groups that match the character(s) entered.
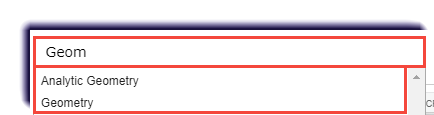
- Click in the Add Courses field and start entering the first three characters of a subject or course name.
Tips
After entering any character, you can press the Enter key to see all courses that match the character(s) entered.
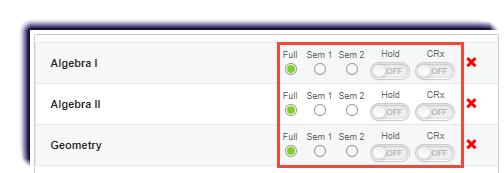
- Click a course length tool or toggle the status or CRx mode option for each course. The default settings for most courses are: Full term course length, Active status, and CRx mode OFF. If a course tool is not available to be changed for a course, it displays as grayed out.
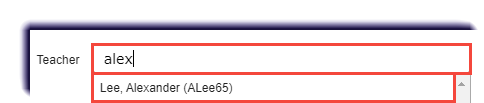
- Select the teacher of record (TOR) for the enrollment(s).
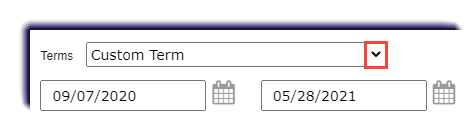
- In the Terms field, the default school term appears. Keep the default term or click the list arrow to select a different term for the enrollment. If you select Custom Term, click the Start Date and End Date calendars to select the start and end dates for the custom term.
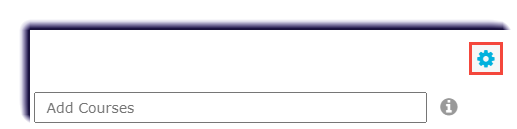
- View or change the enrollment settings by clicking the View and edit settings tool
 .
. 
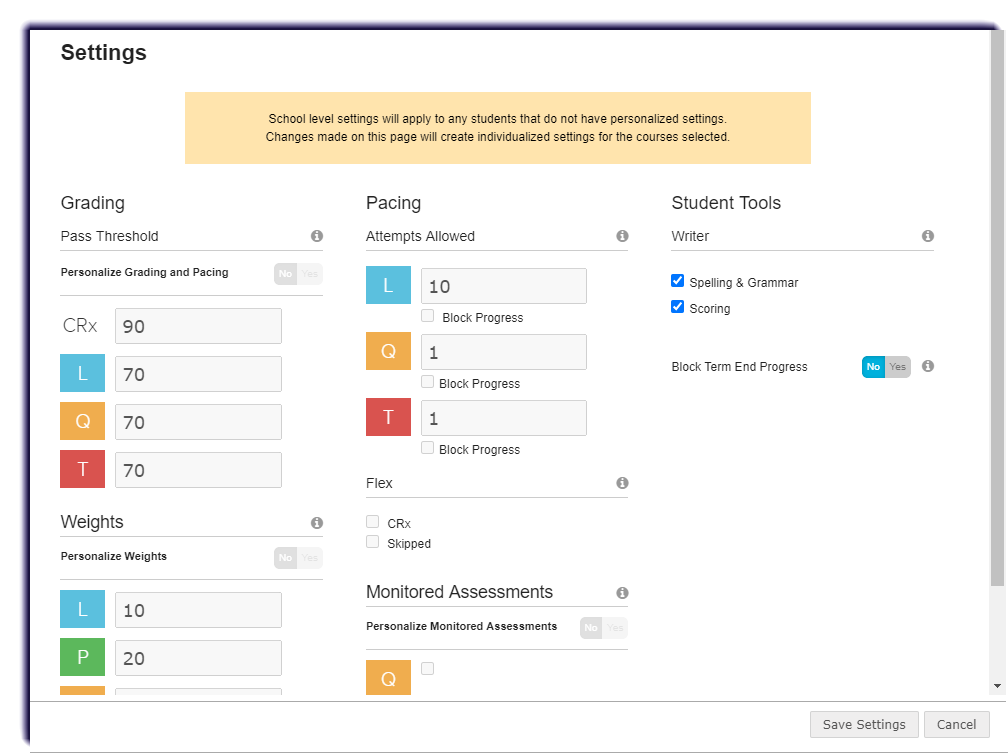
- Adjust settings to desired specifications. To learn more about the page, click here.
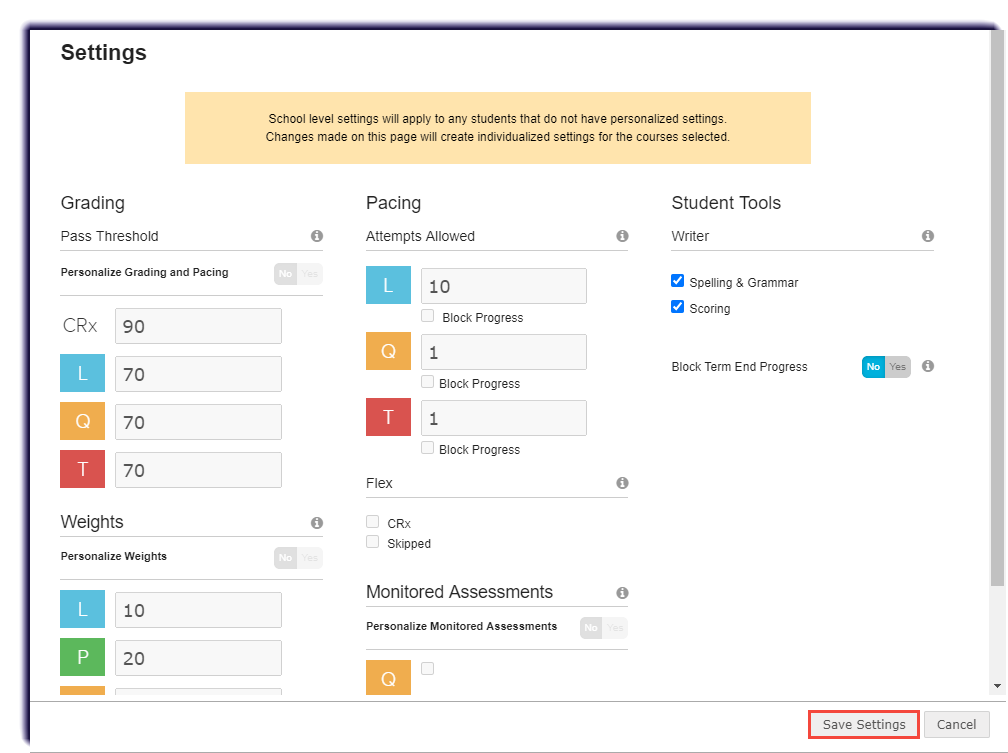
- Click Save Settings.
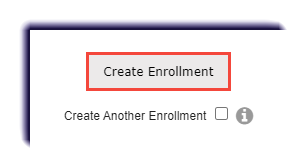
- Click Create Enrollment.
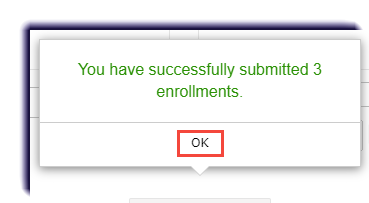
- A confirmation window appears. Click OK.