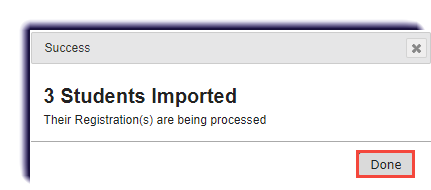
Learn how to add multiple student accounts at once by importing them.
Note
If your school uses Single Sign-On (SSO) Partner Integration, because students will automatically get their identification details and integration identifiers set up during secure sync, you should not use the Import Student tool. However, for those schools using SSO with an Identity Provider, such as Google, you can use the Import Student tool and you need to provide the student's SSO identifier.
- Click Students.

- On the Registration tab, click Import Students.

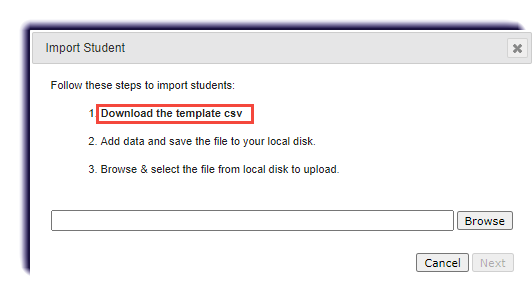
- Click Download Template.
Note
For schools with enabled Single Sign-On (SSO) functionality, the template contains the fields needed to create/register students and use SSO. You need the students' organization Login usernames from your Identity Provider (IDP).
- Enter the required data in the template and save as a .csv file.

Note
For the Campus ID column, you can enter multiple campus identifiers for a student by using the pipe ( l ) symbol to separate values.
Yield
Campus identifiers MUST match identifiers already set up by the Admin. During import, if campus ids do not match, an error message appears.
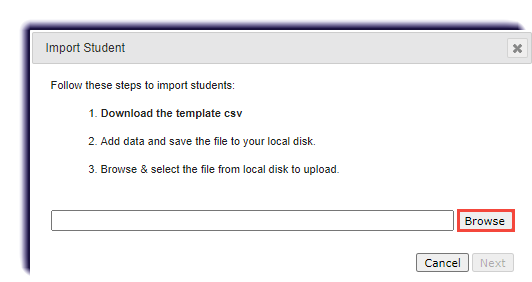
- Click Browse and locate the .csv file.
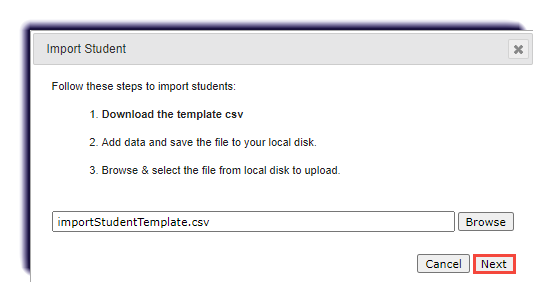
- Click Next.
Note
Non-SSO customers- If duplicate usernames are detected, click the duplicate Username and enter a new username. Click out of the box to see if that username is unique.
SSO customers- student usernames are generated by the system based on the SSO ID entered in the template for students.
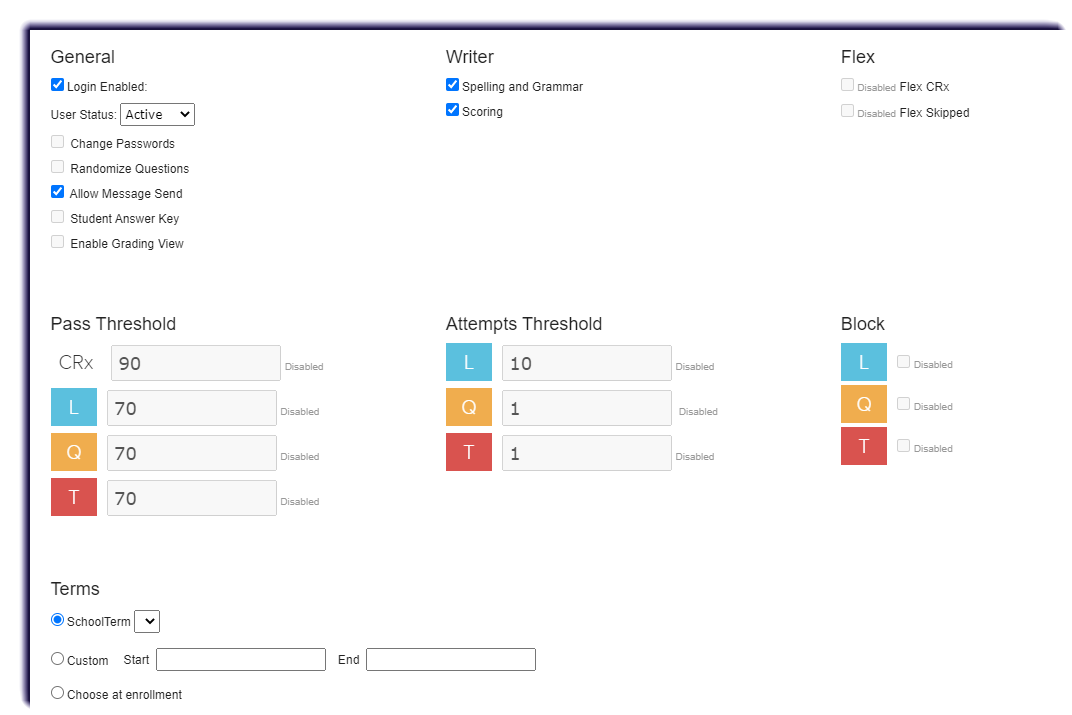
- Set the permissions, enrollment settings, and terms for the students.
Note
These selections will impact all the imported students.
- Select the Campus ID for each student from their corresponding dropdown.

- Select the students to be imported by checking the box next to their name.

- Click Submit.

- Click Done.
